

 You will need:
--Big Shot and your acrylic cutting pads and platform (came with it, if you got your Big Shot from Stampin' Up! :D)
--6 pieces of Pumpkin Pie card stock, cut to 5-1/2"x4-1/4"
--Pumpkin Pie ink pad (doesn't matter what size!)
--sponge
--2-way glue pen
--glue stick
--bone folder
--Sweetest Stems embosslit
--Top Note die
--large oval punch
--scraps big enough for project of Chocolate Chip and Garden Green

First, cut all six pieces into Top Note die cuts. I did three at a time!

(Pause, and admire your work so far. :D )

Now, start folding; you're folding them in half the short way. (I think you know what I mean!)

Do all six!
Now, take your ink and sponge, and start sponging all around the edges of a Top Note die cut.

Go all the way around. You don't want to just EDGE it, but sponge into the card stock.

Yes, do all six! If you aren't careful - which you don't need to be! :D - it won't take you too long at all. :D

Don't forget to close your ink pad up! :D

Now, take the glue stick and glue one half of a Top Note die cut.

Put glue stick on the matching half of another Top Note die cut.

Clean up any glue stick that might come out around the edges. :D

Glue three of the die cuts together. Then glue the other three together.

See? Like this!

Now, put the Garden Green card stock into the embosslit and run it through.

Take it out and separate it from the rest of the card stock - that's trash, now.

Punch out the large oval from the Chocolate Chip card stock.

Now, use the punch to take "bites" out of the oval; they should be different bites, not symmetrical.

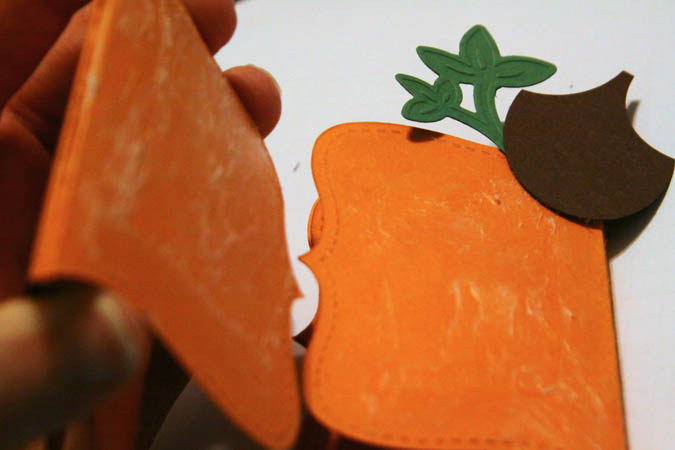
Now, put glue stick on one half of the Top Note die cuts, and position the embosslit die cut first.

Now, put the stem on. Doesn't need to be straight or anything. :D But you can see that the stem is not all the way on the die cuts. That's the way to do it!
Now, put glue stick on the matching half of the other stack of Top Notes.

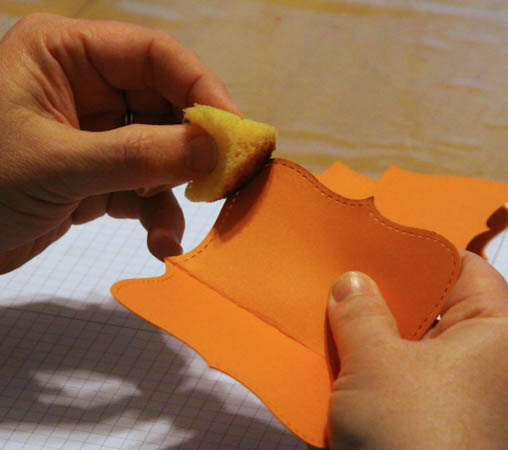
Put away your glue stick! :) Get out that 2-way glue pen, and put plenty of glue on one side of the total pumpkin stack. And walk away. :D

Do NOT stick the rounds of the pumpkin together until that 2-way glue is COMPLETELY dry. It's now re positionable, and you can unfold to store from year to year! (I'd put a piece of waxed paper on top of the glue....)

Play with the shape until you're happy with it! :D
I'd LOVE to hear what you think - and what you use your pumpkins for! :) Have a WONDERFUL Thanksgiving!


2 comments:
how adorable!!
Happy Thanksgiving
Allison
Dunlap TN
Very cute. tfs & Happy Thanksgiving.
Post a Comment